 US Dollars
 CANADIAN
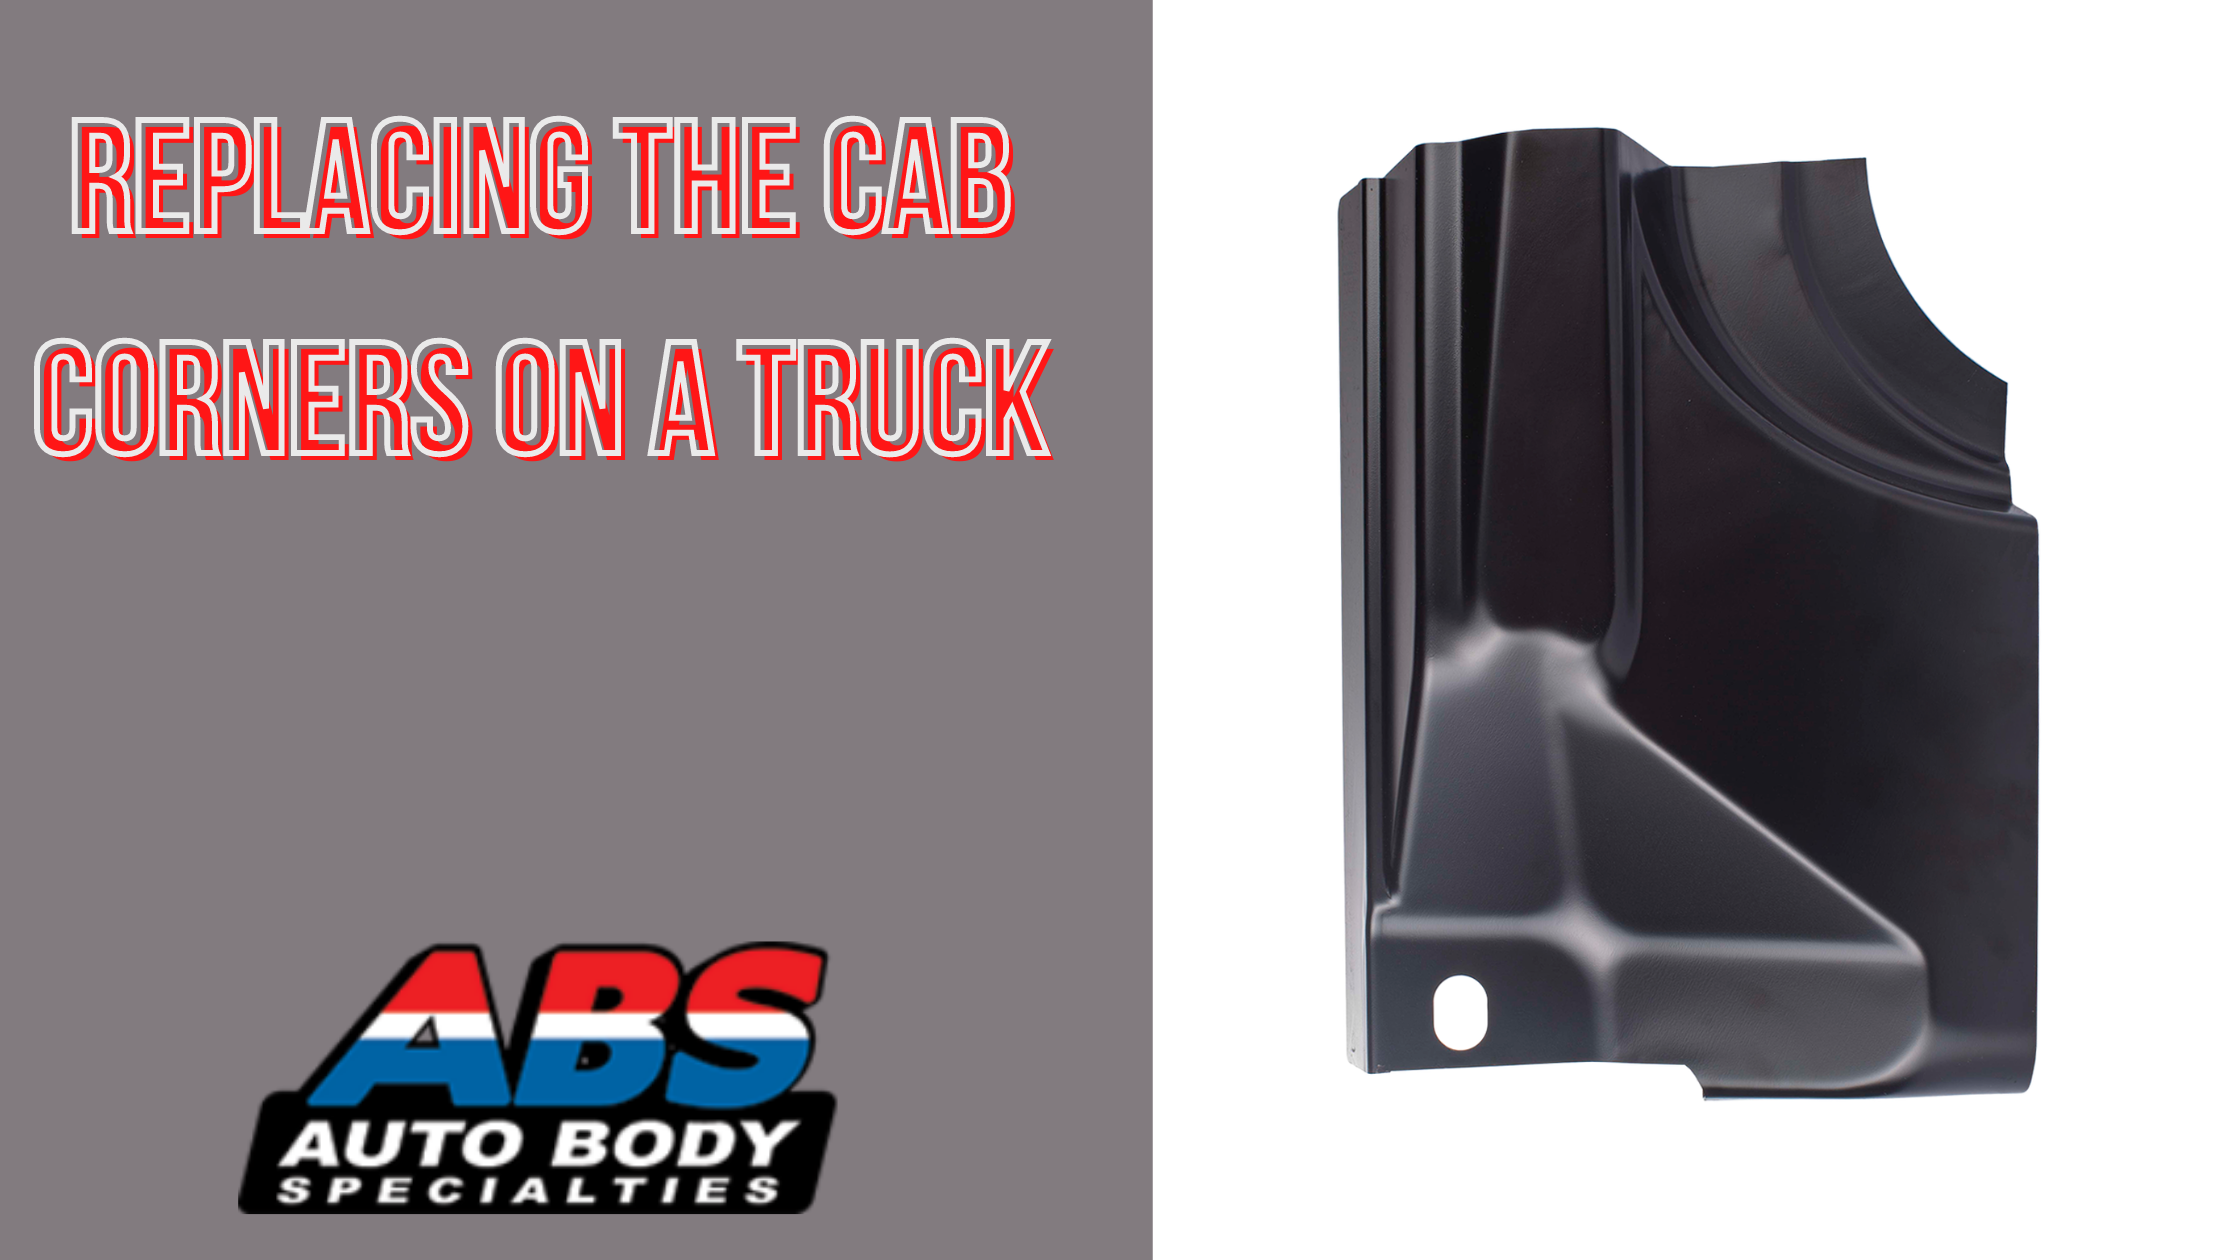 Last month our truck cab corners were one of our most popular selling products. Body damage is a very common occurrence for truck owners and cab corners often get the worst of it. The aesthetic problems that arise from damaged cab corners are often not the problem that call for them to be replaced. It is the problems that can arise from rust. The areas where cab corners lie are often a breeding ground for rust. This week we’re going to talk about replacing the cab corners on a truck.
Step 1: Asses the area that you need to the cab corner. If rust is the reason you are replacing the cab corner, then you need to make sure the area that you are attaching the surface to is solid. Rust spreads easily once it has taken ahold of a vehicle. If the problem is that the area has body damage, then make sure you patch it before attaching the new cab corner.
Step 2: Cut away at the damage/rusted area of the truck. Always cut less than you need to start. Slowly trim away at the original metal until the cab corner fits the hole. You should try to make fit as closely as possible. A good way to do this is to place the new corner over the original and use a permanent marker to outline the area on the truck you want to remove.
Step 3: Use a grinder with a sanding attachment. Grind the paint off the edges of both the replacement cab corner and the vehicle to ensure you get a clean weld. Once the metal is clear, you can use magnets to hold the replacement corner in place. Once it is correctly lined up, you can tack weld the patch in four corners.
Step 4: Slowly and carefully the replacement corner in place. If you weld it too fast, it will get hot and warp the metal out of place. The more time and effort you take, the better the result will be. Once the corner is properly welded in place, grind down the welds smoothly with the vehicle’s body.
Step 5: Use a spreader to mix the body filler on a scrap of cardboard. After that, apply a layer to the patch panel. Once the filler is dry, sand it with a block with 180 grit sandpaper attached to it. This will help rough the paper into shape. Keep applying filler until the replacement corner is completely roughed up. Finish it off with a 500 to 800 grit sandpaper to establish a basis for the primer.