 US Dollars
 CANADIAN
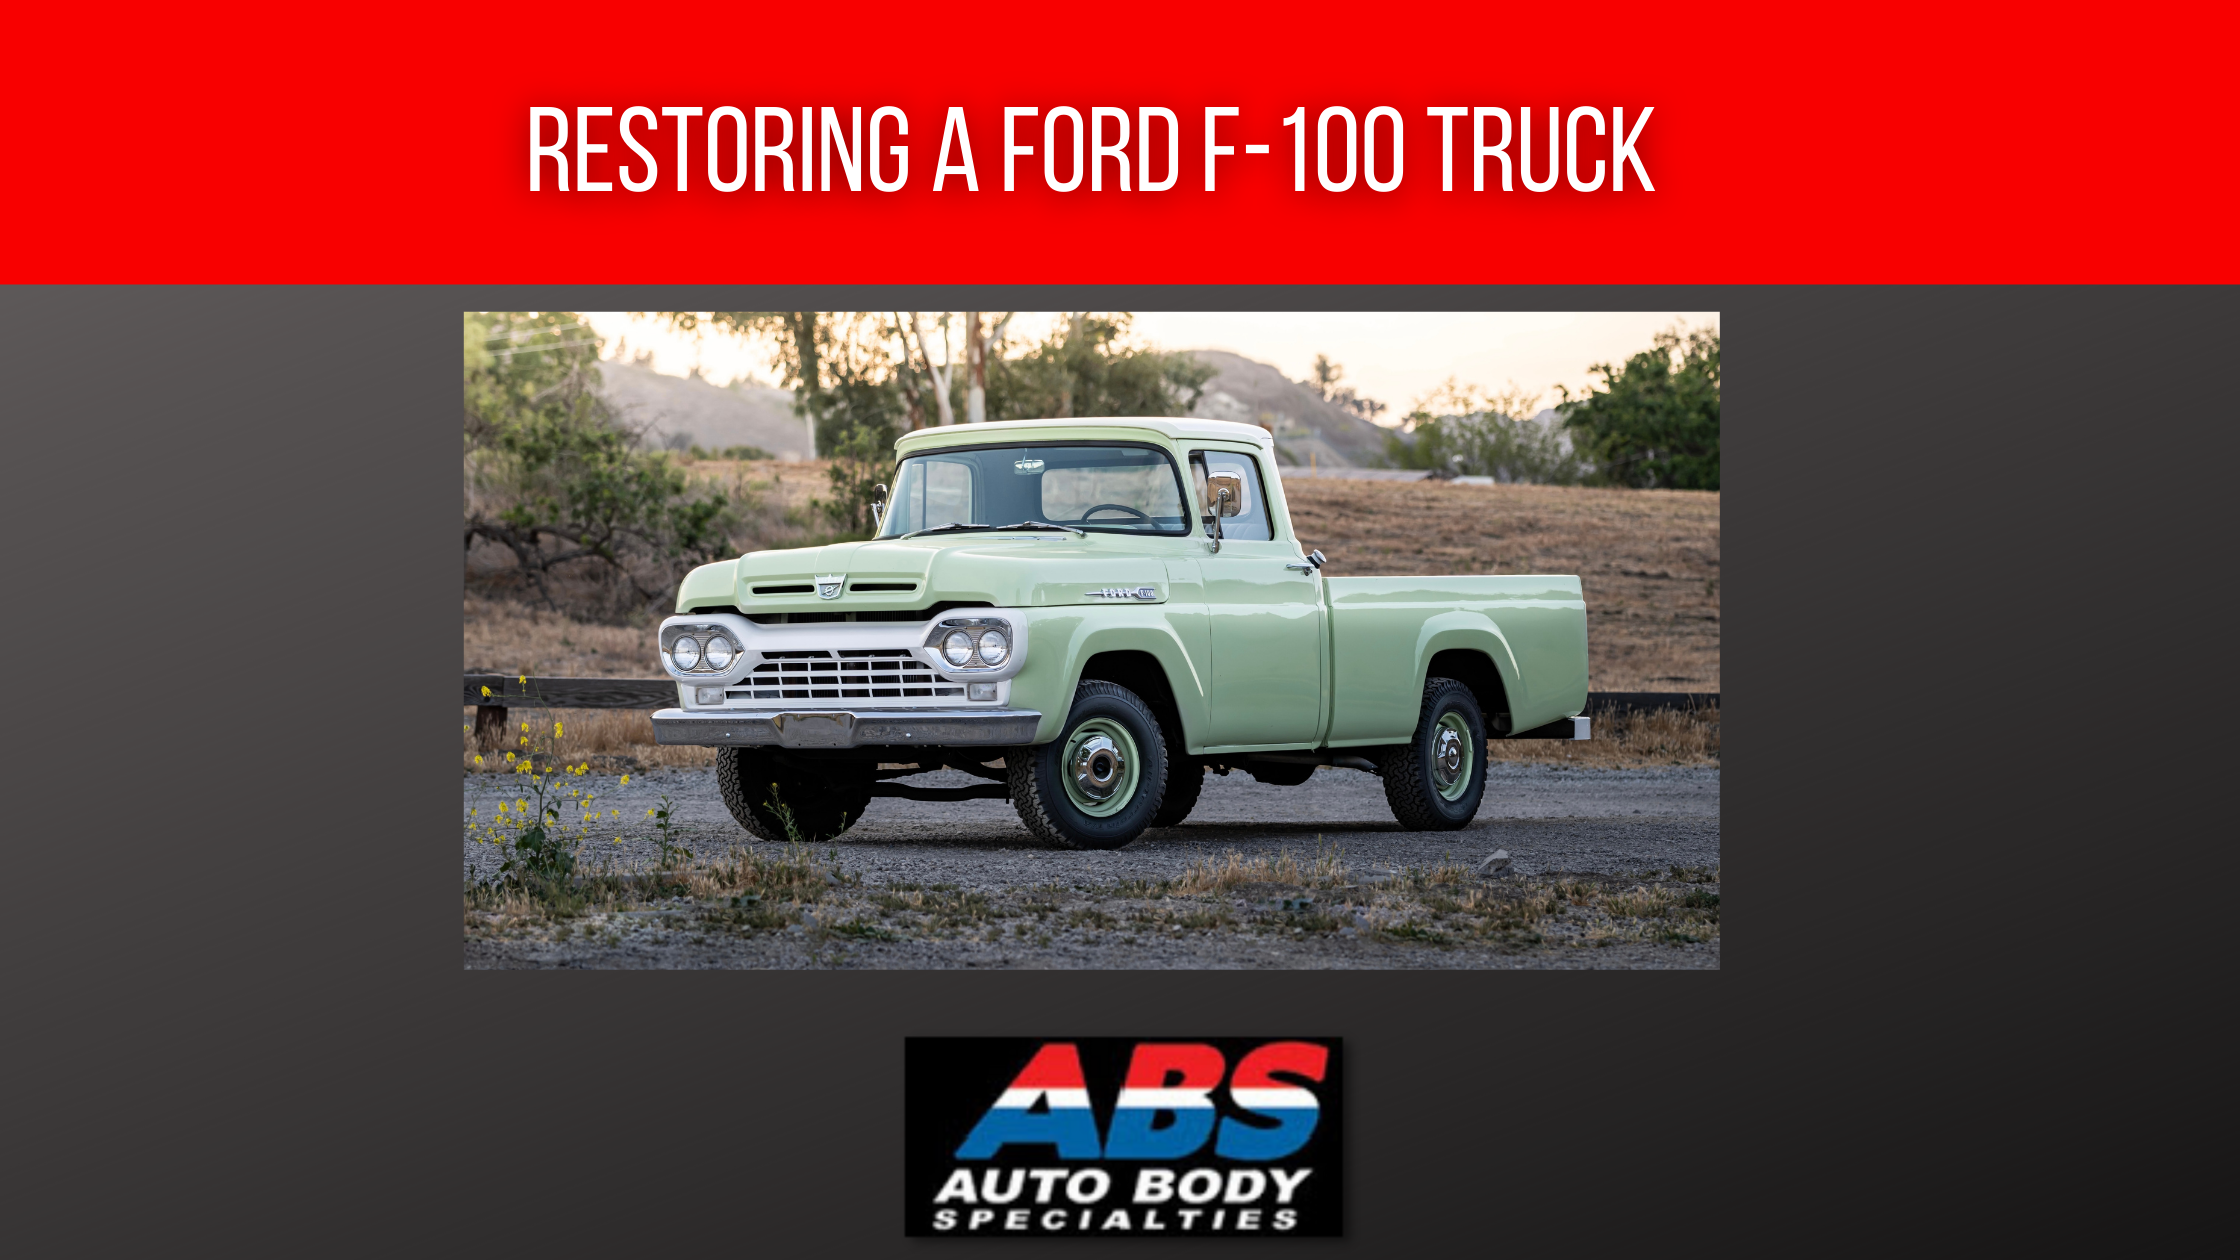
Step 1 of Restoring a Ford F-100 Truck: Prepare Your Working Area
Create a clean working area that allows access to electricity. Electricity will be needed for power tools and lighting. A good rule of thumb is to work in an area that is three times larger than the space to store the fully assembled truck. You will need this space to move around, and you’ll need room to lay down a tarp to place all the parts from the truck on. This will keep them organized and easily accessible. If you have a lot of smaller parts, it would be a wise idea to use small bins or containers to hold them. Labeling the bins can also help with keeping the small parts organized.
Step 2 of Restoring a Ford F-100 Truck: Begin the Disassembly Process
Start by unbolting the outer parts of the truck. These include the bumper, lights, the tail gate, hood, grille, doors, and wheels. The tools used to do this are a tire iron, socket set, rubber mallet, and screwdriver. After the outer parts are removed, you’ll need to start the process of taking out the inner parts. These include the engine, transmission, radiator, springs, and axles. This process is a bit more difficult than the inner parts so you may need a lift for the heavier things like the engine and transmission. Set all of the smaller parts like the nuts and bolts aside in labeled containers.
Step 3 of Restoring a Ford F-100 Truck: Disassemble the Interior
You’ll need to remove the following items in the interior of the truck for the restoration process. These include the carpeting, trim, console, and seats. Store the interior pieces in a place that where they are unlikely to get stained, damaged, or dirty.
Step 4 of Restoring a Ford F-100 Truck: Remove the Exterior Pieces of the Truck
Removing the exterior pieces of the F-100 will definitely be one of the harder things to do in the restoration process. You’ll need to remove the front and rear fenders and the quarter panels. When you are done, move them to a specified location in your work area.
Step 5 of Restoring a Ford F-100 Truck: Reassemble the Truck and Start the Restoration Process
You’ll want to start with the outer body work. Repair any holes or damaged metal with a MIG welder. Replace the sections of body, floorboards, or bed that may have rotted out. After completing the body patchwork, install the tailgate, fenders, and doors. If the original parts are too damaged, then you’ll need to replace them with new parts.
Step 6 of Restoring a Ford F-100 Truck: Check the Components of the Truck
You should always check and see if components such as the engine, driveshaft, alternator, carburetor, starter, radiator, axles, and transmission are still viable. If any of them are not, you will have to replace them completely. Once they are considered viable, you can install them. Keep in mind that reassembly will take three times longer than the disassembly process.
Step 7 of Restoring a Ford F-100 Truck: Sand and Prime the Body of the Truck
Sand the exterior of the truck and then prime the body. You can then paint the truck the color of your choice. Painting can be done by you or a body shop if you are uncomfortable doing it. If you are going to do it yourself, make sure that the body is straight, and the panels are aligned before starting the painting process.
Step 8 of Restoring a Ford F-100 Truck: Reassembling the Truck
After the painting process is complete, rewire all the electrical components including the tail and headlights. After that, you can reattach the front and rear bumpers and the windshield. You’ll also need to reinstall the windshield, mirrors, and windows. Depending on the condition of the trim on the windows and windshield, you may need to do re-chroming on the trim. After that is complete, you can install the new wheels and reupholster the interior the truck.