 US Dollars
 CANADIAN
Auto Body Specialties is a top supplier of replacement rocker panels. If you are considering installing the rocker panels yourself, use the following tips to ensure your application goes easy and efficiently. We have replacement rocker panels for both classic and modern vehicles. All you have to do is head to our homepage and search for rocker panels.
Tips on Installing Rocker Panels
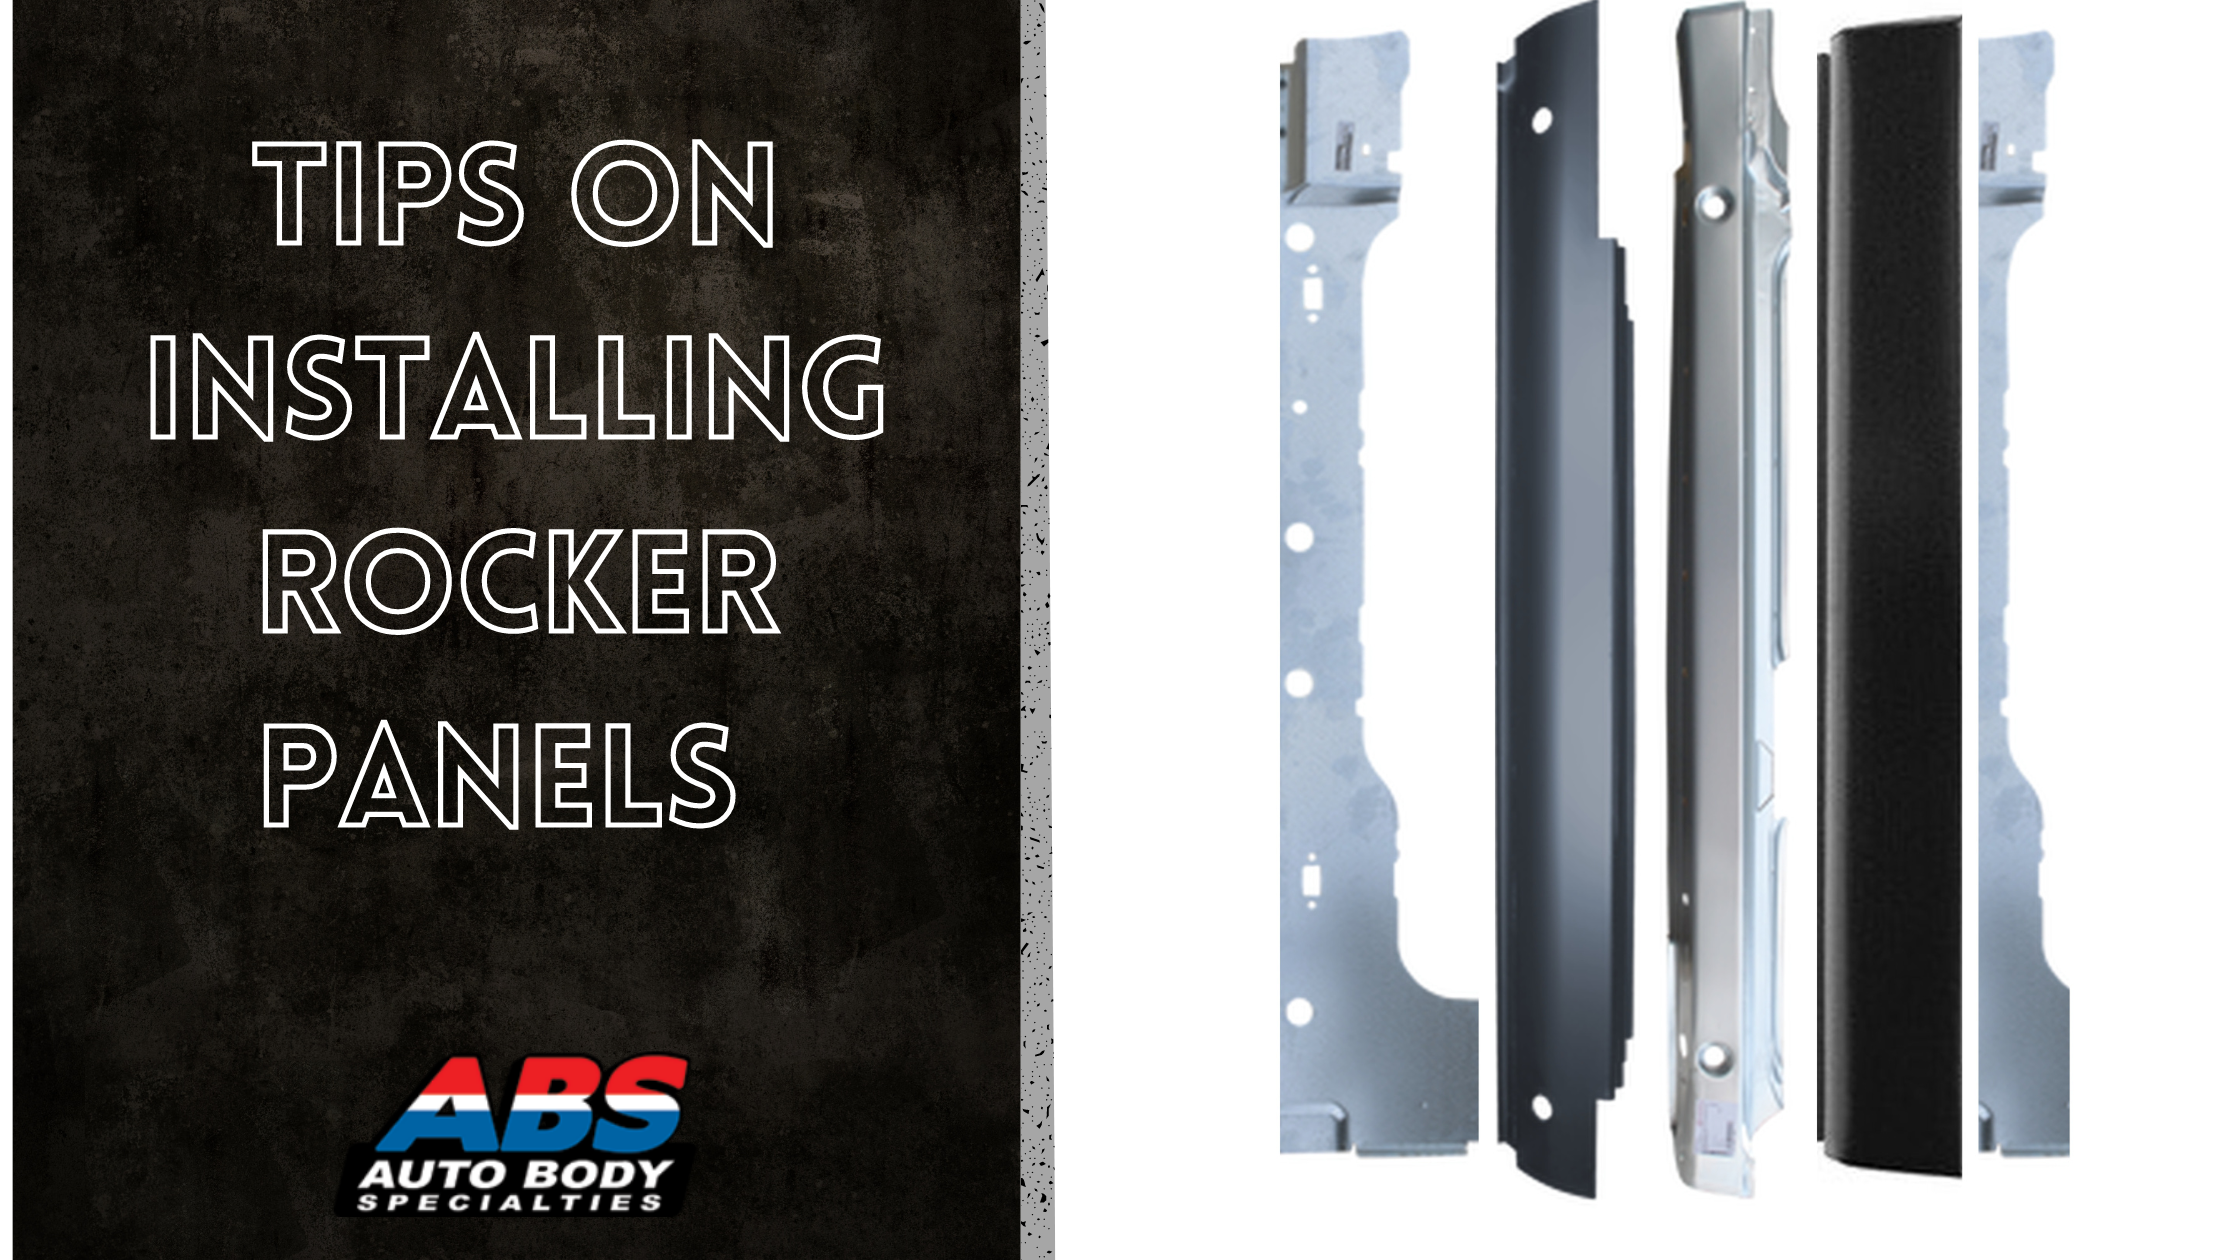
The Two Types of Replacement Rocker Panels
There are two types of rocker panels you will likely have to replace; welded and slip on. The type you choose will depend on the condition of your current rocker panels. If your panels are heavily damaged from rust or collision and no longer retain their original shape, cut them away and replace them with full rockers that require welding. When welding rocker panels, you should always remove your vehicle’s doors.
If your panels have some general corrosion damage but no other deformities, slip on rocker panels will be your best choice. They do not require welding and can fit over any remaining part of your current panels. They can be attached with rivets, panel adhesive, or other fasteners. They also require less cutting and take less time to install.
The Tools You Need for Installing Rocker Panels
An Angle Grinder: This tool is the quickest and easiest way to remove large sections of the old rocker panels. A 50-grit disc will make short work of the rusty areas. Don’t worry about getting a smooth edge with the angle as this will be taken care of in a future step.
A Wire Brush: A wire brush will remove the paint around the edge of the you want to cut. It can also be used to remove bits of rust around the areas where you want to weld the new panels in place.
A Mig Welder: It is always a good idea to make sure you have enough experience under your belt before trying to weld rocker panels. Working with an unsteady hand or the wrong heat setting can make for more grinding and finishing work after. The tack welds to hold the panel in place are usually easier but the finishing weld takes time and patience.
A Rust Inhibiting Spray: This spray will help new rust from forming on your replacement rocker panels. It can also help keep any rust that has formed on your older panels at bay.
Safety Equipment: Make sure you have a pair of double palm leather gloves on hand to protect your hands during cutting and welding. If you will be welding your panels in, you’ll also need safety glasses, a welding jacket, helmet, leather apron, and leather shoes. Never weld without a helmet as the arc can severely damage your eyes! If you are kicking up a lot of dust, it is always a good idea to wear respirator.
Expert Tips on Rocker Panel Replacement
Order the right part: This is the most important tips on installing rocker panels. Always make sure you order the correct replacement rocker panel. Check that the year, make, model, and cab type are correct. It is also important to order the panels for the correct side of the vehicle you are working on. When in doubt, always double check your product before clicking that purchase button.
Elevate the vehicle while installing the rocker panels: Experts agree that elevating a vehicle that you are working on can save you lots of time and energy. If you have access to a lift, you should certainly use it. If you don’t have a lift, jack stands will do. Ideally the height should allow you to work at waist height. Replacing the rocker panels on your knees is tiring and inefficient.
Take your time while installing the rocker panels: While you are probably eager to get back on the road and complete the project, taking the time to do it right will mean you are less likely to have to redo the project in the future. It is also wise to take time when fitting the new rocker panel correctly.
Step by Step Process of Replacing Rocker Panels
Step 1: Remove the Old Metal
Step 2: Clear Away the Lingering Flakes and Rust
Step 3: Grind or Sand Away the Remaining Dust
Step 4: Coat with a Rust Inhibitor
Step 5: Mark and Drill Holes
Step 6: Smooth Out the Drill Hole Edges
Step 7: Attach the Rock Panel to the Vehicle
Step 8: Apply Adjustments and Finishing Touches