 US Dollars
 CANADIAN
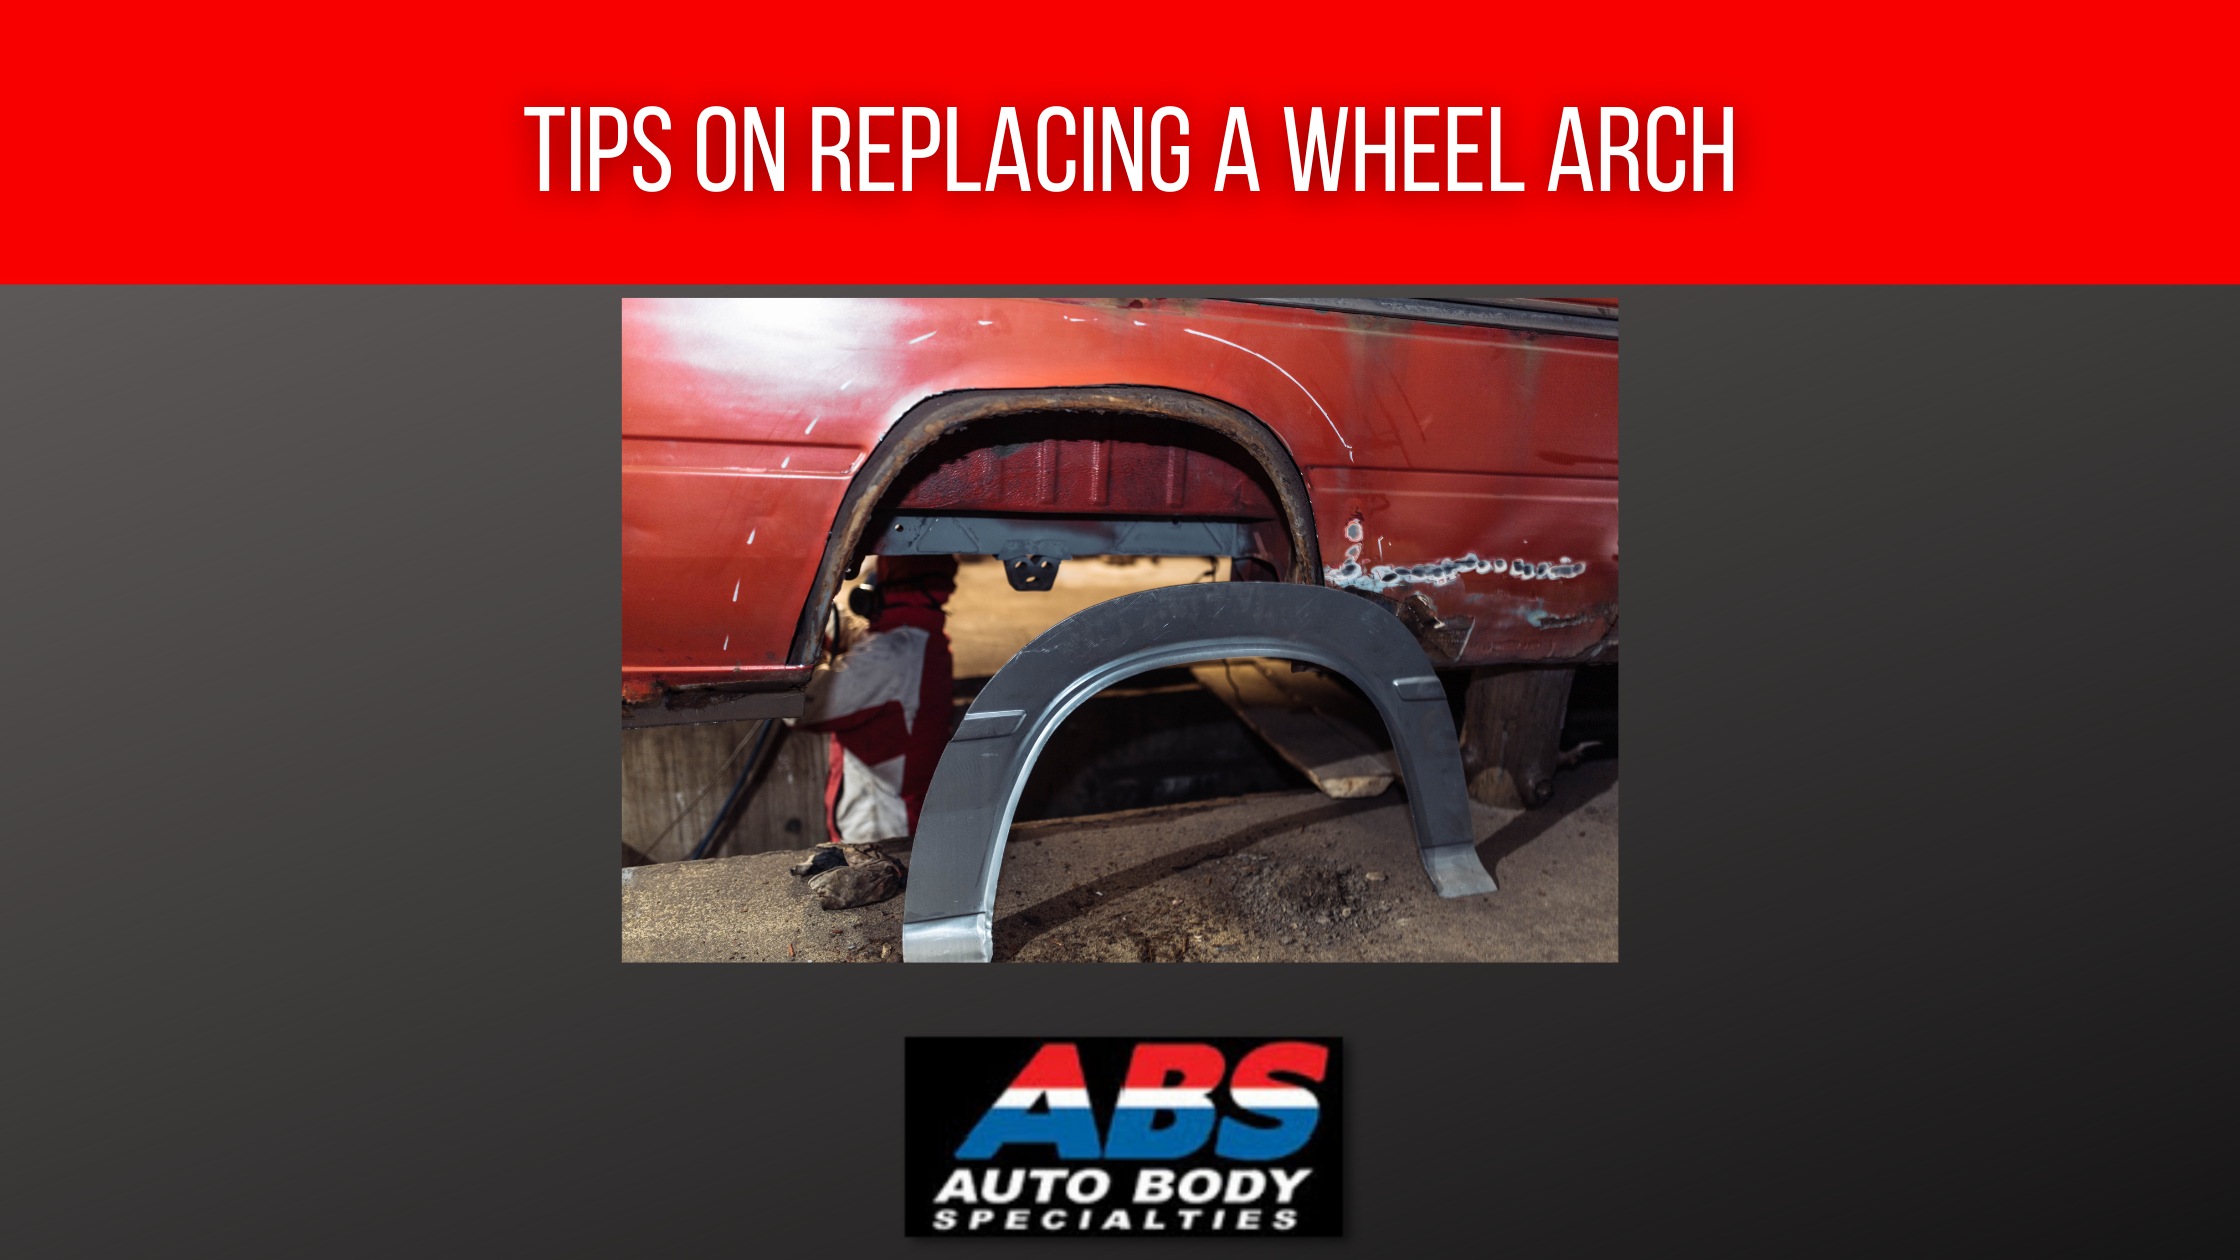
One of the more popular products Auto Body Specialties sells is their replacement wheel arches. The reason they are so popular is because they tend to rot out quickly from moisture and road debris. Since your tires are consistently in contact with the road, every bit of debris they kick up tends to get stuck in the wheel arch and wheelhouse of your vehicle. When rust starts to form, it gets quickly worse over time. If you don’t replace or repair the wheel arch, it can spread to other parts of the vehicle and cause more costly damage. To help you replace the wheel arch, we have created this article on the best tips for replacing a wheel arch.
The Preparation Process of Replacing a Wheel Arch
Park your vehicle on solid, level ground where you can get a decent look at both the outer and inner wheel opening areas. Don’t forget to set that emergency brake when you are working on it to prevent the vehicle from rolling.
Wheel Arch Replacement and Repair Parts List
Continue the preparation by removing any fender flares, covers, or other pieces that may restrict your access to the affected wheel arches. You may have to jack the vehicle up depending on its make or model.
Start the process of removing the rusted panels.
First check the amount of rust and corrosion that you are dealing with. This will determine whether you have to butt-weld or flange and weld the replacement piece in place. Start by using an angle grinder with a cutting disc. When you’re removing the rusted parts of the panels, be sure to leave sufficient material for the replacement panel to be welded to.
Cutting and or welding the panels.
Create a flange around the perimeter of the cut out area while laying in the new panel. For the butt welding, you’ll have to figure out how much of the existing area needs to be cut out. Mark the area with a marker and clamp your replacement panel to it. Use a grinder and cutoff wheel to cut both at the same time. Make sure the two panels are not touching each other all the way around because they may warp once the welding heat is applied. When you are welding, be sure to alternate the weld areas so you don’t apply too much heat to any single area. Doing this may cause the metal to warp.